
Your First Deployment
This walks through the minimum needed to deploy a Laravel application: a project, a server, and a deploy.
1. Create a project
Section titled “1. Create a project”From the dashboard, click New Project and fill in:
- Project Name: a display name.
- Repository: a GitHub URL or
owner/repo(e.g.https://github.com/acme/my-apporacme/my-app). Conveyor normalizes this toowner/repoautomatically when you leave the field. - Branch: defaults to
main. - Deploy Path: the absolute path on the target server(s) where releases live, e.g.
/home/website/project.com. - Releases to Keep: how many old releases to retain after each deploy (default 5).
- GitHub Token: a personal access token, required for private repositories. Conveyor only needs this token itself; it’s used to download the release archive from the GitHub API and is encrypted at rest.
Saving creates the project with the builtin three-step pipeline (clone, activate, purge) already configured.
2. Add a server
Section titled “2. Add a server”Open the project’s Servers tab and click Add Server:
- Server Name: a display name.
- Host and Port: the server’s address (port defaults to 22).
- SSH Username: the user Conveyor connects as.
- SSH Key, either:
- Generate a new key for me (recommended): Conveyor creates a new ed25519 keypair. The private key is encrypted and stored; you’ll be given the public key to install afterward.
- Paste an existing private key: bring your own key if you already manage one.
- Deploy Path Override: optional, overrides the project’s deploy path for just this server.
After saving, you land on the server’s edit page, which shows the generated public key (if you chose that option):
echo '<public-key-shown-in-ui>' >> ~/.ssh/authorized_keysRun that on the target server as the SSH user you configured (or add the key by hand). Then click Test Connection on the edit page. Conveyor connects over SSH, records the server’s host key on first successful connection (trust-on-first-use), and marks the server’s status connected or failed.
If a server is ever rebuilt with a new host key, check Reset pinned host key on its edit page (or just change the Host field, which resets it automatically) so the next connection re-learns it instead of failing on a mismatch.
3. Review deploy steps
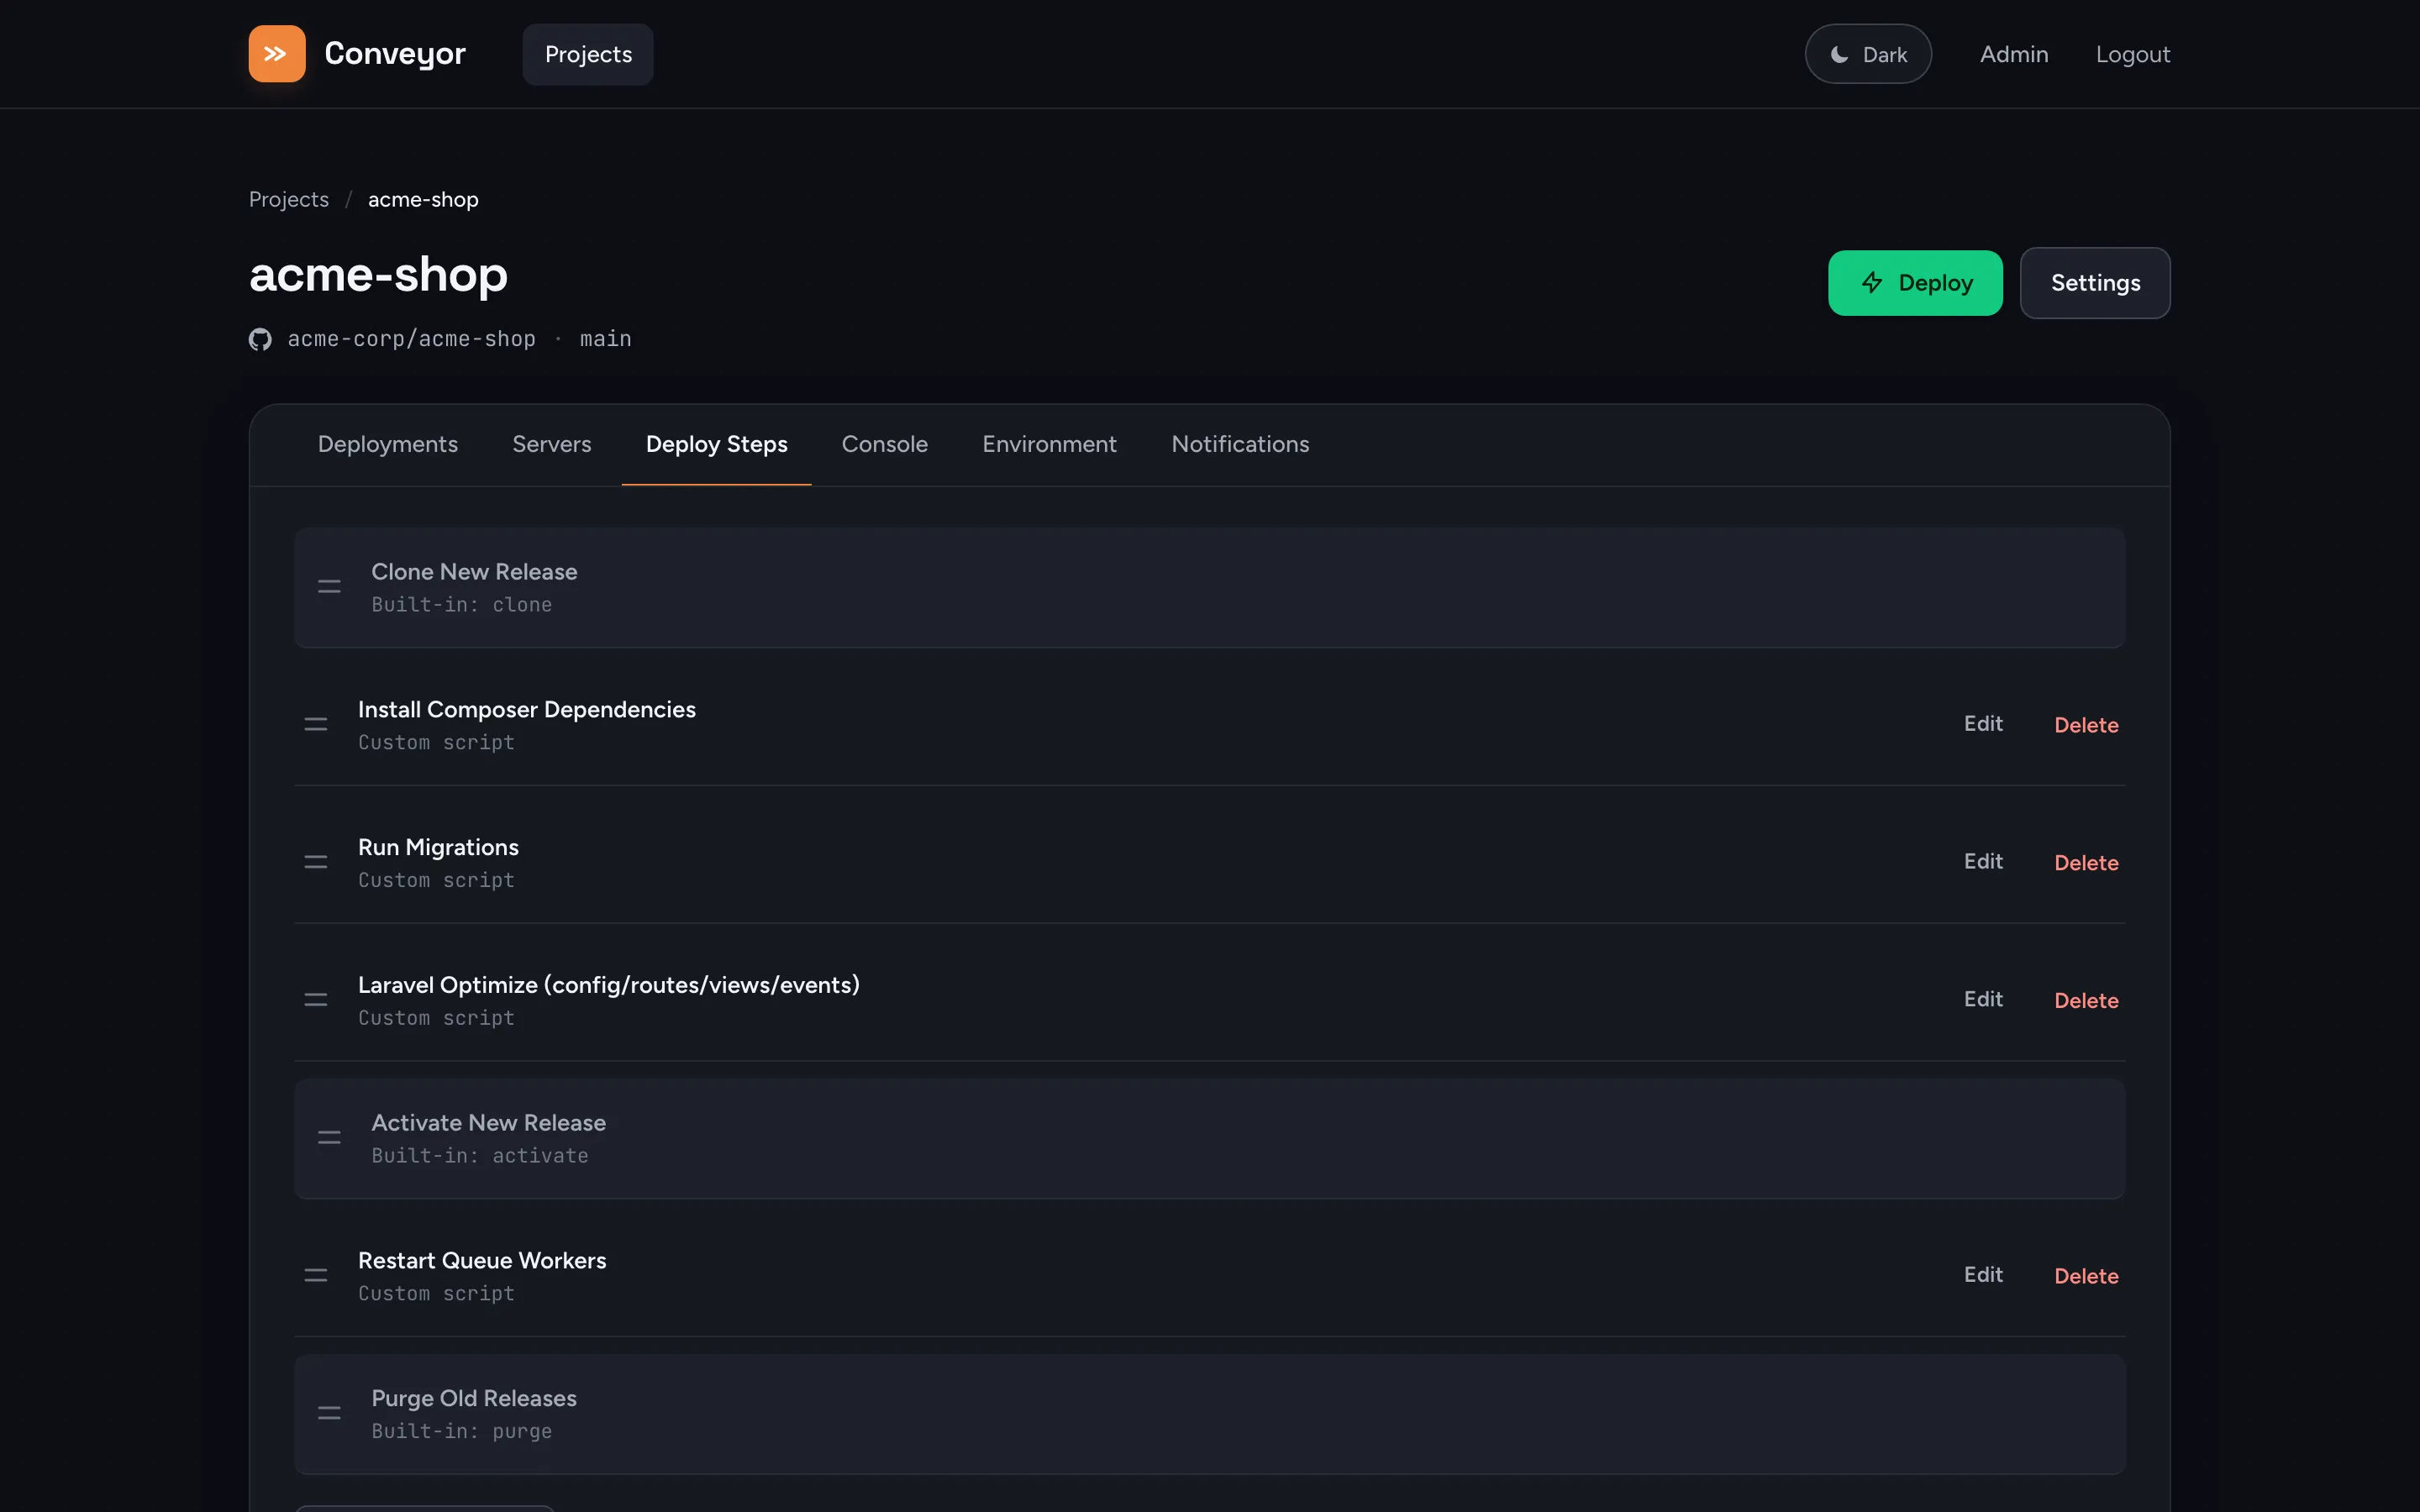
Section titled “3. Review deploy steps”Open the Deploy Steps tab. New projects start with a bare-minimum pipeline: Clone New Release, Activate New Release, Purge Old Releases. For a real Laravel app, add custom steps for Composer install, migrations, and cache warming between Clone and Activate, and anything that should target the live release (like restarting queue workers) after Activate. The predefined step picker prefills common ones for you. See Deploy Steps for the full list and how ordering affects what’s safe to run.
4. Run the deployment
Section titled “4. Run the deployment”Back on the project page, click Deploy and confirm. Conveyor:
- Checks free disk space on every server.
- Downloads the release archive from GitHub.
- Runs each configured step, in order, against every server.
- Atomically activates the new release once all steps succeed.
Deployment output streams live to the browser over a WebSocket as each step runs on each server. If a step fails, the deployment stops and (for the activate step) any servers already switched to the new release are rolled back to avoid a split-brain state where some servers serve new code and others old.
See How Deployments Work for the full six-phase flow and directory layout, and Health Checks for the optional post-activation gate.